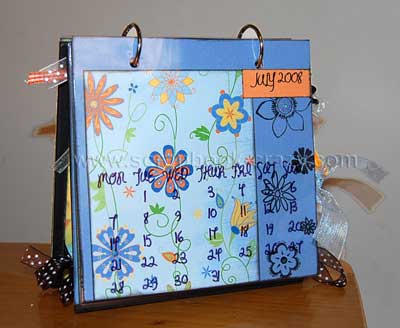
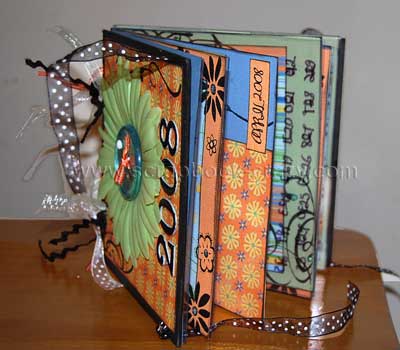
Kelly's Scrapbooking Calendar
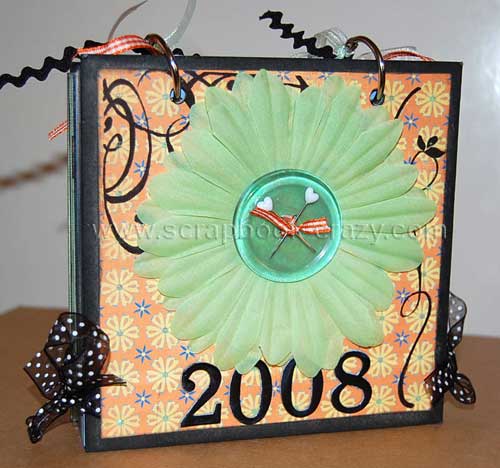
2008 Scrapbooking Calendar Mini Album
You will love Kelly's fabulous scrapbooking calendar that she made for 2008. Kelly wanted to make herself a calendar that she would not have to throw out at the end of the year - especially after all the effort that she would put into it, so she came up with the idea for this calendar / mini album.
The covers
In a nutshell, The front and back covers are made with very strong thick chipboard. This will ensure that the calendar will stand without warping and becoming week over time. The edges of the covers are inked and a piece of patterned paper (approx 5.5"x5.5") is adhered to both sides of each cover. A length of ribbon approximately 15" long is placed at the bottom of each cover between the chipboard and the paper to act as a closure.
The inner Pages
There are 6 cardstock page sheets creating a total of 12 pages, one for each month of the year. Each page has a photo mat, a title block with the corresponding month printed on it and a few swirly stamps to add a bit of interest.
Photo mats
The photo mats is attached to each page with double sided tape. The tape is applied to only 3 of the four sides. This will allow Kelly to slip in a tag which can hold journaling about the photo or perhaps the special events that occurred during the month.
The clear monthly overlays
The months and the days are not printed at all on to the cardstock pages. Instead each month is printed on to a clear overlay. When it is layered on top of the cardtock page you will see the photo peeking through. How cool is that!!
At the end of the year you simply remove the clear sheets and you are left with a very cool mini album titled 2008 which has a photo for each month of the year.
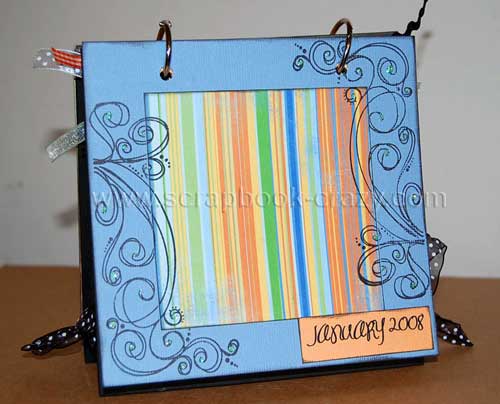
January page with a photo mat and title. Notice that there are no calendar months
yet. The calendar months are printed on to a clear page over lay that is
flipped over as in the picture below.
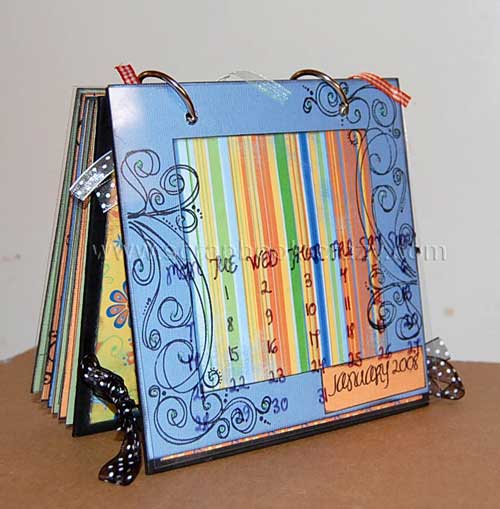
At the end of the year you simply remove the clear sheets and you will be left
with a 2008 Mini Album.
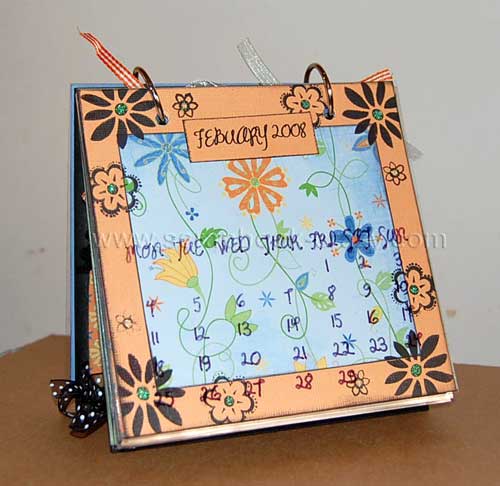
February Page with photo mat and the clear February overlay.
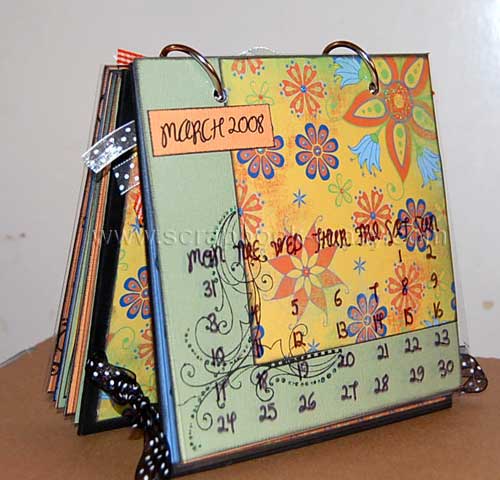
March Page with photo mat and the clear February overlay.
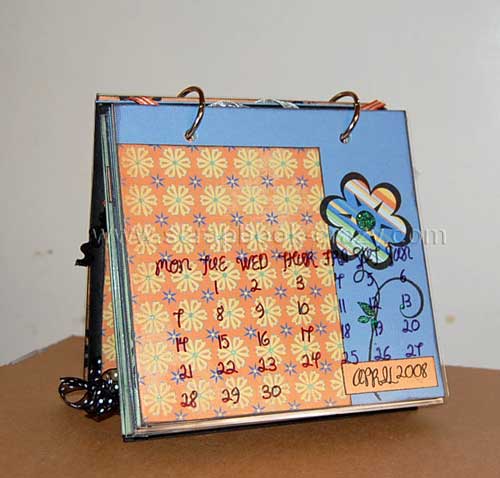
April Page with photo mat and the clear February overlay.
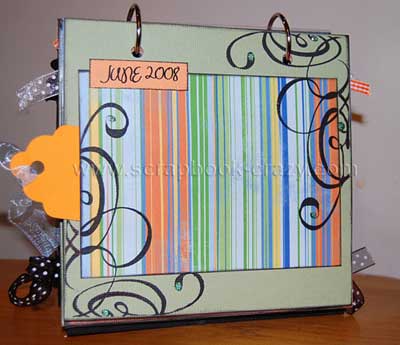
The photo mat for June demonstrates how tags can be
slipped in behind each photo mat to hold journaling.
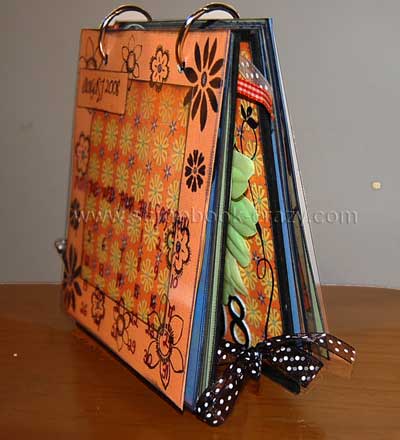
a side view showing how the ribbon ties allow for the
album to satand up like an easel
Quick list of supplies that Kelly used to make this fab little calendar.
- Size: 6" x 6"
- Two thick chipboard pieces for the cover
- 2 loose leaf binding rings
- 6 pieces of 6" x 6" cardstock
- 12 pieces of 6" x 6" clear plastic sheets
- Patterned paper and embellishments
- Ribbon to use as a closure as well as to enable the calendar to stand


