Easy Mini Scrapbook Tutorial
This scrapbook tutorial is a great one to start with for beginner scrapbookers and are pretty quick to create. It's a basic card scrapbook is made with only one 12x12" piece of cardstock. The final mini book will have 4 good sized inner pages for you to embellish with photos, journaling and other memories keepsakes.
Scrapbook Supplies
- Cardstock and patterned scrapbook papers.
- Two lengths of ribbon (approx 8-10")
- Ruler, double sided tape, scissors or craft knife
- Scrapbook Embellishments
Directions
Step OneTake your sheet of 12" x 12" cardstock and score a horizontal fold at 6". Score two vertical folds at Cut out the top left hand corner square as pictured. |
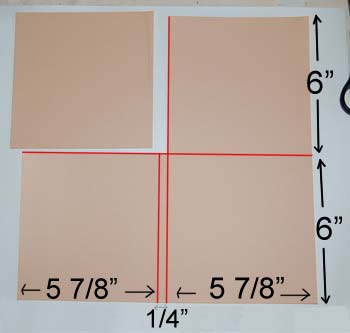 |
Step TwoFold the top flap down |
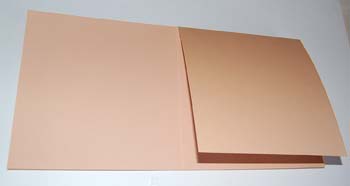 |
Step ThreeFold the left bottom flap over to the right. This will form the front cover of your mini book |
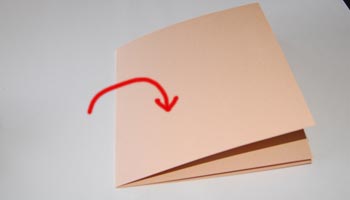 |
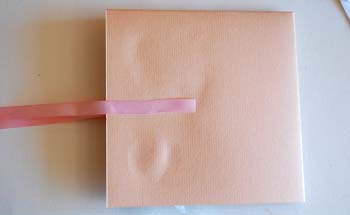
Step FourMeasure half way down the right hand side (approx 3") Take a length of ribbon and secure one end of it with some double sided tape to the front cover as pictured. |
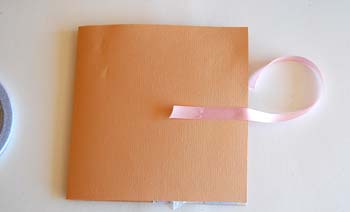 |
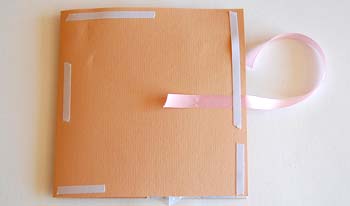
Step FiveFlip your mini book over and repeat step four for the back cover. |
 |
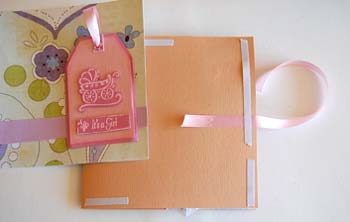
Step SixCut a piece of 5 3/4 x 5 3/4 cardstock or patterned scrapbook paper for the front cover. Embellish is as you choose. Adhere your embellished cardstock to the front cover with double sided tape or glue. Be sure to cover the length of ribbon to secure it better.
|
 |
 |
|
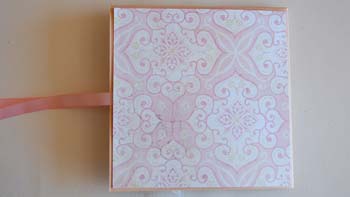
Step SixRepeat step 5 for the back cover. I simply used a square of coordinating cardstock and left it unembellished. |
 |
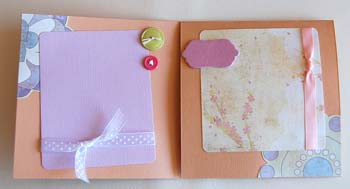
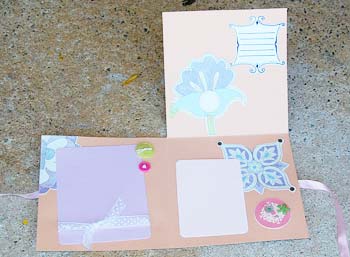
Step SevenDecorate each of the inner pages with photo mats, journaling spots and other pretties. |
 |
 |
|
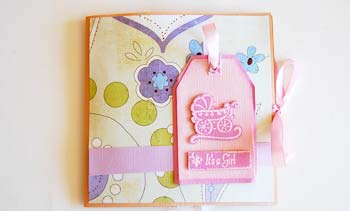
Step EightWhen you are done you can close it up and tie the ribbons together to keep your mini book closed. |
 |
See more beginner scrapbooking ideas
Return from a Scrapbook Tutorial for beginners to home

