Mini Book Instructions
This mini book at first glance may look pretty tricky to make but this mini album is actually quite easy to make. all you need to make it is:
- 1 A4 piece of cardsock or patterned paper
- A craft knife
- adhesive (glue or tape will do)
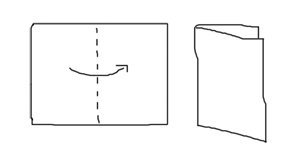
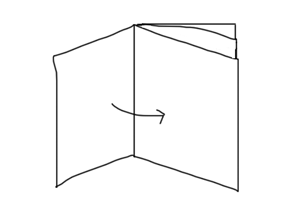
| Take a sheet of 11½" x 8¼" paper (A4) Fold it in half as per the diagram below |
|
|
|
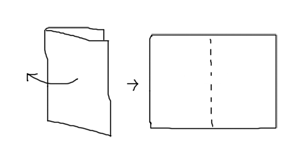
Open up the sheet |
|
|
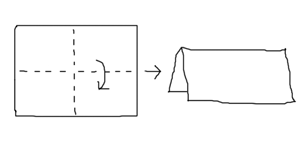
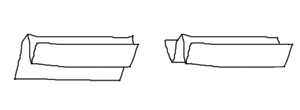
| Now fold the sheet in half again lengthwise, this time from top to bottom. |
|
|
| Fold the top outer edge back up towards the centre fold. |
|
|
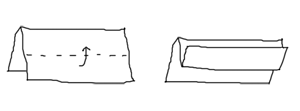
| Now repeat, this time folding the bottom outer edge and the bottom outer edge up to meet the centre fold. |
|
|
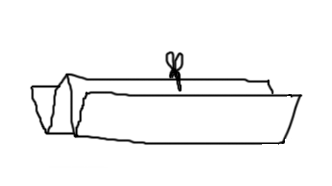
CuttingTake your scissors or craft knife and cut along the centre vertical fold. |
|
|
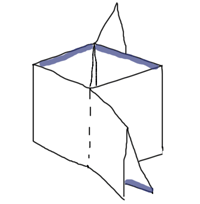
| Grab hold of the album either side of the cut and fold them down to meet each other so that it looks some thing like this. Apply a thin line of adhesive to the book as shown below. This will form pockets for 4 tags in your book. |
|
|
|
|
Covers
If you want to you may cut two pieces of chipboard/book-board 3¼" x 3¼" Cover with paper and attach to
the front and back covers if desired. Use a piece of fibre or ribbon to tie the
finished album shut.
Return from mini book instructions to see more scrapbook album instructions


