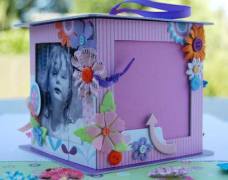
Lantern Mini Scrapbook
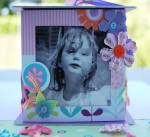 This fabulous Lantern Mini Scrapbook was a contest submission
by Giniew. I love
her style and I am constantly skipping over to her blog for inspiration, I
can't read a word she says on her blog but a picture says 1000 words... or
something to that effect.
Inspiration :
I’ve got a lantern in my kitchen, a red one, and one time I was taking pictures of details in my kitchen to make a mini-album, and I thougt that it would be great to create something like to show different pictures.
Scrapbook products used :
All papers are SEI Ally’s wonderland. You will need also 2 sheets of Bazzill paper and a piece of thin cardstock. I use severals embellishments like Prima Flowers, some felt embellishments, a few buttons and Making Memories brads and some SEI stickers.
How to make the lantern:
First step:
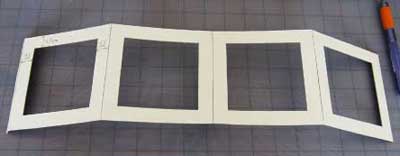
Put a rectangle of cardstock 18 * 4 3/8 and fold it into 4 squares
each 4 3/8. There is still a rectangle to glue it at he end.
Then cut off 4 windows (3 1/8 * 3 1/8) on each square.
Second step:
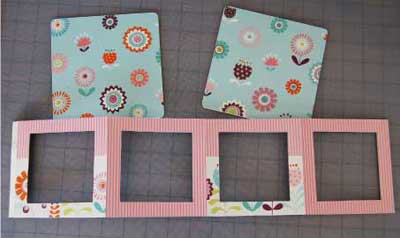
cut 2 squares of cardstock 5 * 5 and 2* 2 squares of pattern paper
to cover these squares. Don’t forget to make round corners.
Cut 4 squares ( 4 3/8 ) of pattern paper to cover the body of the lantern and
glue them on it.
On the back, use your knife to cut off the windows. And glue the body to make a
cube.
Third step :
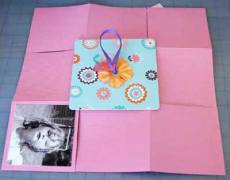
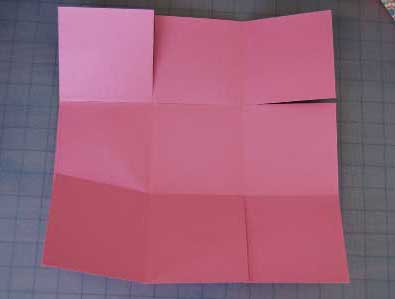
Fold and cut the 2 sheets of Bazzill paper like you do to make an exploding box:
Fourth step :
Fold the Bazzill paper and glue them on each square :
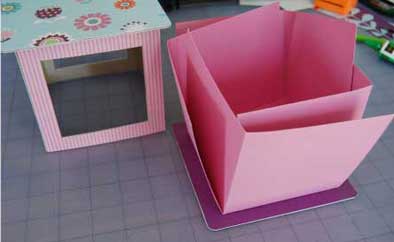
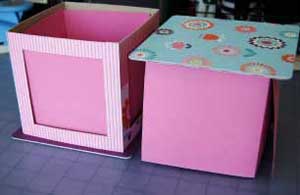
Now you can fit the Bazill paper into each other to create the lantern.
 |
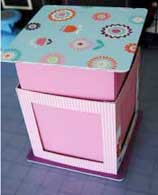 |
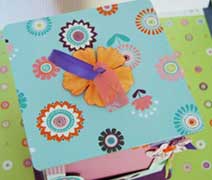
To finish, fix a ribbon on the top and glue the pictures on each squares on the Bazzill, the you can choose wich pictures you want to show through the windows. Then decorate the lantern.
|
|
|
