Staggered Mini Chipboard Scrapbook
This chipboard scrapbook is super quick and easy to make and all you need to put it together are some pieces of chipboard, some patterned paper to cover the chipboard and some binder rings to keep it all together. (unless you are using a alternative method of binding like the bind-it-all machine with pre-bought o-wires)
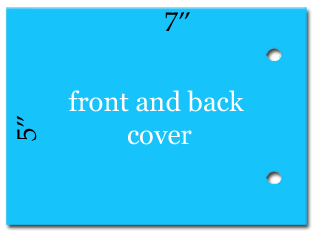
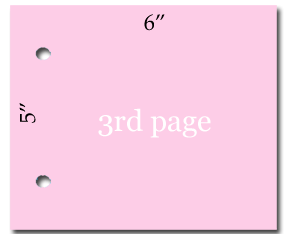
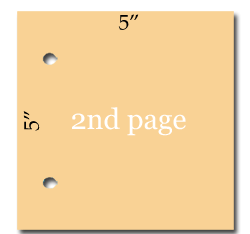
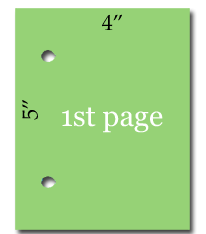
If you don't wish to use the front cover then you may leave it off. Now you may notice that this album is quite long for a mini - 7" Each of the pages decreases by 1" so that a bit of the pages below will be peeking through. This also allows us to make 4 pages which is a good amount for a mini. You can easily adjust the sizes of the pages to suit your purpose.
Materials
- Paper trimmer
- Hole punch tool (hopefully the easy to use cropadile)
- Chipboard sheets
- Craft knife, paper trimmer, adhesive
- Scrapbooking papers and embellishments
Assemble your album
Step one
Cut your chipboard to size for your albums pages. In our example we are
using the following measurements.
2 pieces 7" x 5" (one each for the back and front covers)
1 piece 6" x 5"
1 piece 5" x 5"
1 piece 4" x 5"
|
|
|
|
|
|
|
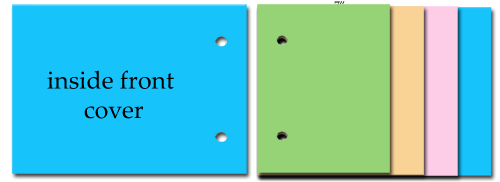
Chipboard Scrapbook Pages - Holes punched for binding. |
|
Step two
Cut your 2 pieces of patterned paper to match each of the sizes of the chipboard pages.
Step three
Adhere the patterned paper to the pages and embellish however you wish with photos, embellishments and journaling.
Step four
Punch two holes approx ¾" from the left hand side and 1" down from the top and bottom of each page for the binder rings.
Step five
Assemble your pages layering them as per the picture below and insert the binder rings.
TIPS
You might prefer to leave off the front cover so that you see only the layered pages.


